
Understanding Domain Name System (DNS) and the Importance of Encryption
In our increasingly digital world, the Domain Name System (DNS) serves as a fundamental component that makes internet navigation seamless. Every interaction you conduct on your desktop, laptop, phone, and tablet initiates with a DNS query. Essentially, DNS translates human-friendly domain names into IP addresses, enabling web browsers and applications to locate and retrieve the information you seek. For instance, without DNS, one would need to input a complex string like 34.149.132.124 instead of simply typing ZDNET.com.
The Vulnerability of Non-Encrypted DNS
A crucial limitation of standard DNS protocols is their lack of encryption, meaning all DNS queries traverse networks in readable plain text. This becomes a significant concern, especially when using public networks, such as those in coffee shops or airports. Under these conditions, any nearby individual equipped with the requisite technical skills can intercept your DNS queries and uncover the websites you are visiting or the searches you are performing. The lack of encryption presents both privacy and security risks, making it imperative for technology users to seek more secure alternatives.
Securing DNS with Private DNS Mode
To mitigate the risk associated with non-encrypted DNS queries, Android devices offer a feature known as Private DNS Mode. Once enabled, this mode encrypts all DNS queries, ensuring that even if someone intercepts the data packets, they will not be able to decipher or misuse the information. For anyone who values digital privacy and security, activating Private DNS Mode is an essential step.
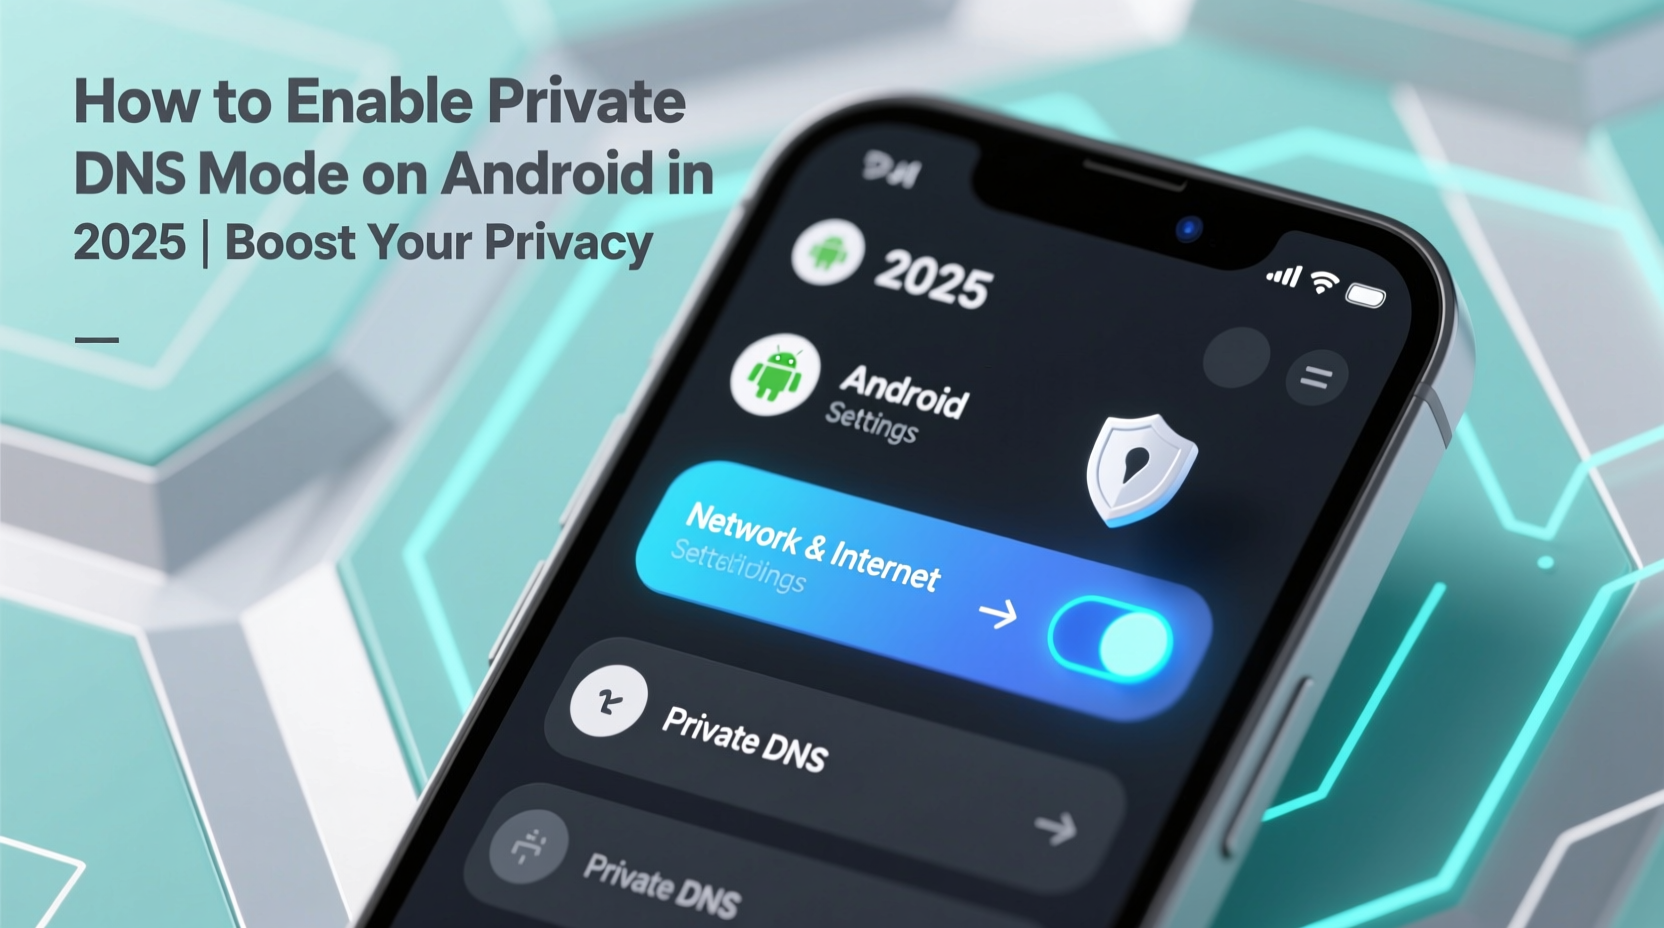
Steps to Enable Private DNS Mode on Android
Activating Private DNS Mode on an Android device is straightforward, though it does require that the device runs Android Version 9 or later. Here’s a step-by-step guide:
1. Access Network & Internet Settings
Begin by opening the Settings app from either the Notification Shade or the App Drawer. Then, navigate to Network & Internet. For Samsung Galaxy users, this may be located under Settings > More Connection Settings.
2. Locate and Enable Private DNS
Scroll through the Network & Internet settings to find the Private DNS option. If you're using a Galaxy device, keep an eye out in the More Connection Settings section. If you cannot locate it initially, use the search feature on the main Settings page by typing “Private DNS”.
3. Choose a Secure DNS Provider
This step requires specifying a DNS provider that supports encryption. Several options are available:
| Provider | Hostname |
|---|---|
| Cloudflare | 1dot1dot1dot1.cloudflare-dns.com |
| Google DNS | dns.google |
| Quad9 | dns.quad9.net |
| Cleanbrowsing DNS | security-filter-dns.cleanbrowsing.org |
| Open DNS | 208.67.222.222 |
| NextDNS | 45.90.28.0 |
Note: Among these, Cloudflare is widely recommended due to its high speed, robust security features, and additional DNS filtering capabilities. To proceed, select Private DNS Provider Hostname and input the desired provider’s hostname.
4. Save Your Settings
After entering the provider's hostname, confirm the new configuration by tapping Save. Exit the Settings app once the configuration is saved.
Verifying the Configuration
Confirm that Private DNS is functioning correctly by opening your default browser and navigating to http://1.1.1.1/help. If “Using DNS over TLS (DoT)” is set to “Yes,” then you have successfully enabled encrypted DNS queries, enhancing both privacy and security.
Further Reading and Related Topics
If you wish to delve deeper into related topics, consider exploring other articles such as:
- How to encrypt any email - in Outlook, Gmail, and other popular services
- The best secure browsers for privacy
- How to create Android Routines (and a few of my favorites to get you started)
- How to screen calls on your Android phone and stop unwanted spam
- Android’s eSIM transfer feature and how it enhances smartphone connectivity


 浙公网安备
33010002000092号
浙公网安备
33010002000092号 浙B2-20120091-4