
A Comprehensive Guide to Clean Installing Windows
Among Windows experts, a clean install is a time-honored ritual that serves to wipe out accumulated cruft and restore an old PC to new life. There are numerous compelling reasons to perform a clean install. For instance, you might be repurposing an old yet serviceable PC for a family member or for use within your organization. Perhaps you've decided to replace a conventional hard disk drive with a fast solid-state drive to extend the lifespan of an older PC. Or maybe you just want a fresh start.
The Benefits of a Clean Install
A clean install is the ultimate troubleshooting technique, virtually guaranteed to eliminate performance or compatibility issues caused by third-party software, temporary files, configuration errors, and malware. When done correctly, the result is a PC that starts from a known good state, featuring either the default Windows configuration or a previously tested configuration that includes specific third-party software and drivers.
By my count, there are four main ways to perform a clean install (short of buying a new PC). Below, you'll find the pros and cons of each method, along with advice on when to employ each one. This guide covers the full range of installations on hardware that was originally designed for Windows 10 or Windows 11. Unless otherwise specified, all instructions assume that you're installing or reinstalling Windows 11 version 24H2.
1. Use a Recovery Image from the OEM
If you purchased a PC with Windows preinstalled, you might have the option to revert to the original image supplied by the manufacturer. The good news is that this saved image includes all the drivers, utilities, and hardware support so that all your devices should work as designed upon first login. The bad news? The saved image might also include preinstalled crapware that the manufacturer was paid to include.
If you have a business-class PC with minimal unwanted software, this might not be a dealbreaker. However, for consumer devices overstuffed with games and trial versions of software, it can be a significant inconvenience. Additionally, the biggest disadvantage of this option is the likelihood of ending up with an outdated Windows installation, necessitating a full feature update followed by the latest cumulative update after the recovery is complete. This is particularly true if the PC originally came with Windows 10 and was later upgraded to Windows 11.
This option is preferred if you're preparing a machine to sell or give away, or if you’re experiencing hardware issues that require repair or return of a device under warranty. The option to restore an OEM image might be available from a dedicated partition when you start your PC in recovery mode, or a utility might be provided by your OEM to download the latest image from its servers. Alternatively, your OEM might supply a bootable recovery image that can be installed on a USB flash drive.
2. Restore from a Backup Image
To utilize this option, you need to have created a backup image immediately after setting up your PC when it was brand new. This is possible through the legacy Windows Backup program (Sdclt.exe) or a third-party backup program. If you are among the well-prepared individuals who did this, you can restore your PC to its pristine state, complete with all third-party software and custom drivers installed.
This method is particularly appealing if you rely on a large collection of third-party software. To use this technique, capture the image after the installation of all necessary third-party programs but before restoring personal data files. However, this method’s disadvantages include the extra time and effort required to create and maintain the backup, and the need for organizational skills to keep the backup safe and accessible.
Restoring from a backup image doesn't necessarily include the latest feature updates, but this can be a benefit if you prefer using a previous Windows version while deferring installation of later updates.
3. Use the Built-in Windows Reset Option
Starting from Windows 8, this feature has significantly improved, allowing users to lay down a completely new copy of their current Windows version without third-party software or drivers causing problems. No installation media or product key is needed, and there's no need to adjust firmware settings.
To start, go to Settings > System > Recovery and click the Reset PC button. You can choose to keep your files or remove everything if you're selling the PC or giving it to someone else. The reset process also allows you to wipe the empty space occupied by files, ensuring they can't be recovered using disk utility software. Current Windows versions offer reinstalling Windows using the installed copy or downloading a fresh copy from the cloud, a process that will use up to 4GB of data.
Reseting is the quickest and least cumbersome way to start fresh. However, it might not work if your system is compromised by malware or if some system files are damaged.
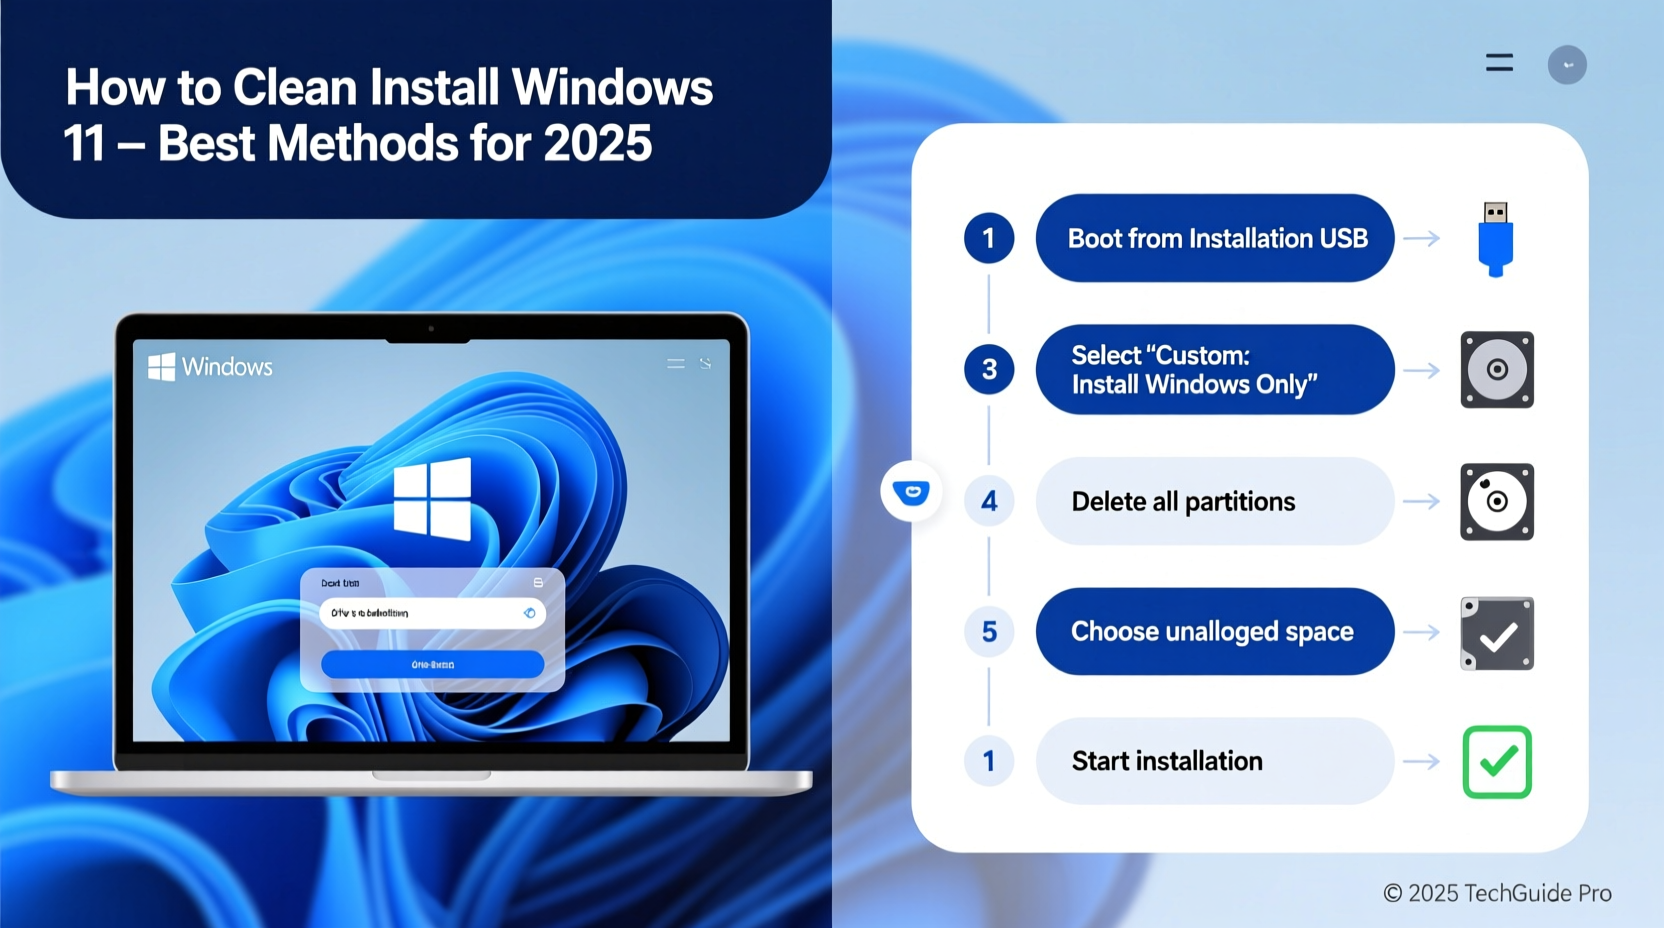
4. Reinstall from a Bootable Windows Recovery Drive
This method gives you the most control over the clean install process. It requires more-than-average technical skills and usually entails some post-installation adjustments to ensure all hardware is working correctly and the desired features are available. The process involves three main steps:
- Use the Media Creation Tool to download the latest installation files from the Download Windows 11 page and create a bootable USB flash drive. For Windows 10, you'll find the official download here.
- Find the combination of keystrokes to boot directly from the drive into the Windows Setup program. Use the built-in tools to reformat or repartition the target drive if necessary. Skipping the formatting step keeps old files in a Windows.old folder.
- Install Windows. If installing on previously activated hardware, skip the product key entry. Windows will activate automatically after you sign in for the first time.
After installation, use Windows Update to install the latest updates, including hardware drivers for devices not included in the standard Windows setup. If you didn’t format the system drive first, clean up the Windows.old folder to finish additional setup tasks.
Conclusion
Performing a clean install can breathe new life into an old PC, eliminate performance issues, and provide a fresh start. Whether you choose to use an OEM recovery image, restore from a backup image, reset using built-in Windows options, or reinstall from a bootable drive, each method has its own advantages and considerations. Choose the one that best fits your technical skills and needs to ensure a smooth and effective installation process.


 浙公网安备
33010002000092号
浙公网安备
33010002000092号 浙B2-20120091-4