
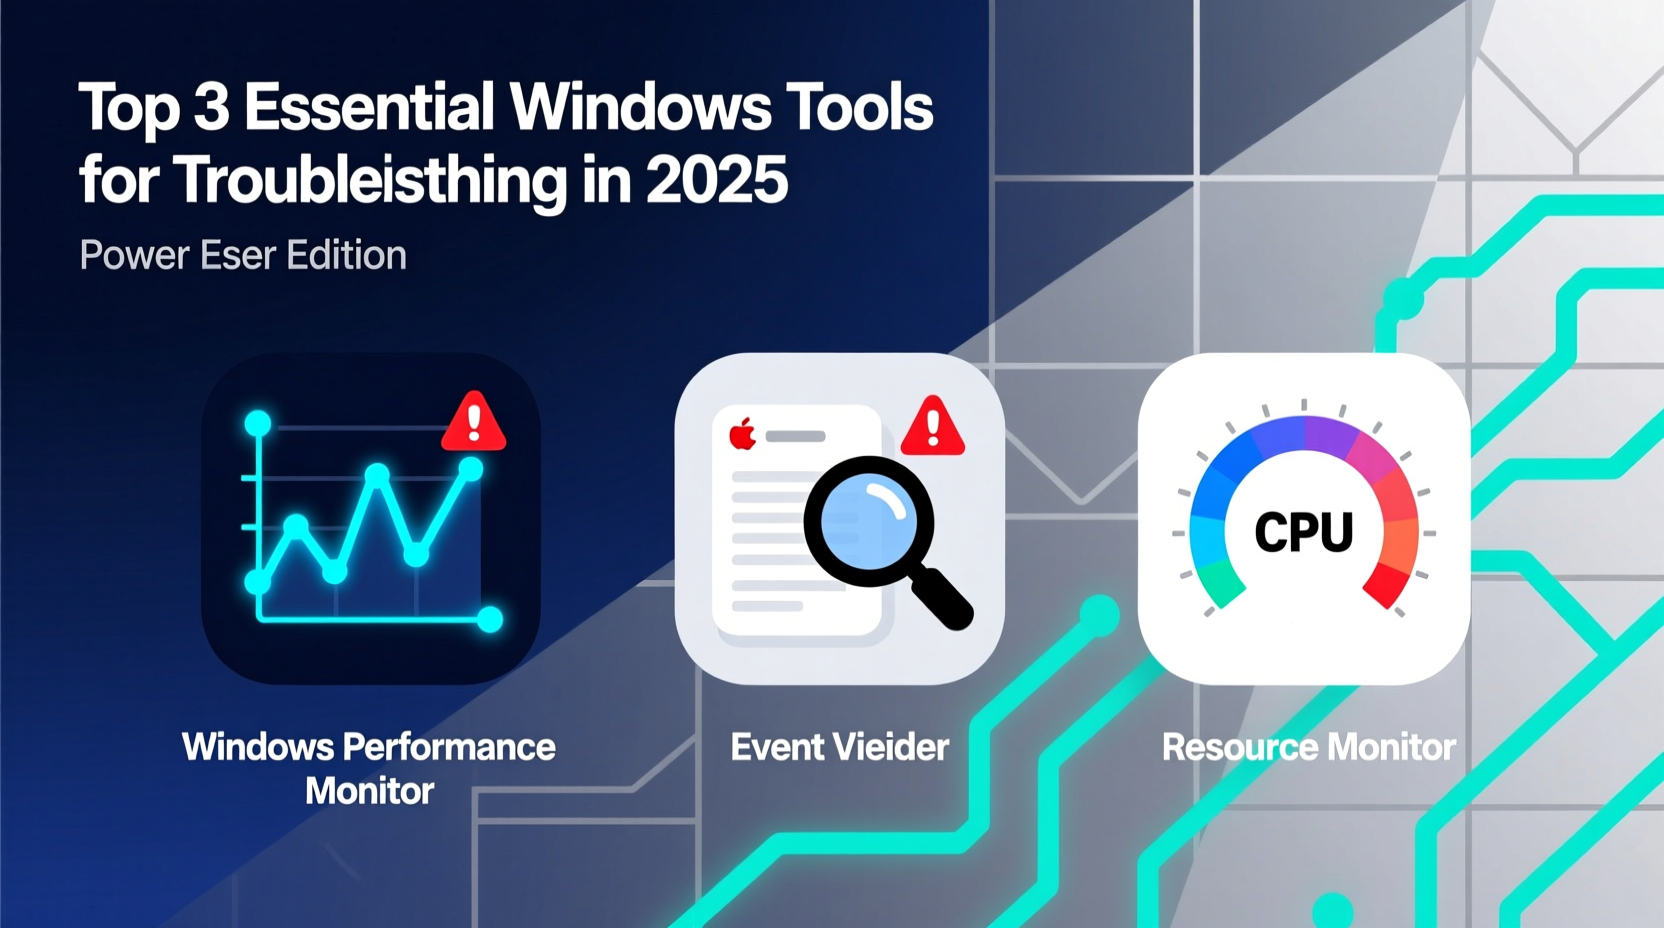
Exploring Windows Diagnostic Tools: A Comprehensive Guide
Photo by Beata Zawrzel/NurPhoto via Getty Images
In the dawn of personal computing, enthusiasts took charge of their own devices, diving deep into system internals to resolve issues. Fast forward to now, and PCs are indispensable tools for everyday productivity, catering to users who may lack the technical skills to solve intricate problems. Fortunately, both Windows 10 and Windows 11 are equipped with a suite of built-in diagnostic and repair tools. These tools are designed to provide insightful troubleshooting details and, ideally, offer straightforward solutions to get you back on track quickly. Even seasoned users might discover new functionalities that enhance their experience.
1. Task Manager: Beyond Basic App Management
The Task Manager, a stalwart since the early days of Windows, continues to serve as an invaluable resource in today's computing landscape. While its primary function involves listing running applications and providing an option to forcefully end them, its capabilities extend into monitoring system performance, making it indispensable for users trying to discern why their computers are lagging.
How to Access Task Manager
Access Task Manager by right-clicking any empty taskbar space and selecting "Task Manager." Alternatively, use the Quick Link menu (right-click Start or press Windows key + X) or the Ctrl + Shift + Esc keyboard shortcut.
What You Can Do with Task Manager
- Identify Resource-Intensive Apps: The Processes page provides detailed insights into CPU, memory, and more, helping you spot and manage resource-hogging applications.
- Terminate Problematic Programs: If an app is unresponsive, select it from the Apps list and click "End Task."
- Restart Windows Explorer: If key components like the taskbar or File Manager stop responding, use Task Manager to restart Explorer.exe.
Tip: Customize Task Manager to open on a specific tab by navigating to Settings and selecting your preference under Default Start Page.
2. Powercfg: Fine-Tuning Power Efficiency
The difference between advertised and actual battery life on laptops can often be significant. Powercfg, the Power Settings Command-Line Tool, offers a powerful way to understand your device's power usage and identify power-draining applications.
Using Powercfg
Open a command line interface like PowerShell and enter powercfg followed by the desired command. Use powercfg /? to list available commands.
Capabilities of Powercfg
- Diagnose Sleep Issues: Use
powercfg /requeststo pinpoint apps preventing your system from sleeping. Override requests usingpowercfg /requestsoverride. - Generate a Battery Report: The
powercfg /batteryreportcommand provides a comprehensive battery usage and capacity report.
Tip: Enhance your device's battery performance by exploring additional Powercfg commands and tips.
3. Reliability Monitor: Revealing System Stability
Reliability Monitor, though reminiscent of older Windows utilities in appearance, remains an essential part of the Control Panel suite for troubleshooting. It offers a day-by-day log of your system's reliability and potential issues.
Accessing Reliability Monitor
Open it by typing "reliability" in the Start menu search. Create a desktop shortcut by right-clicking the desktop, choosing New > Shortcut, and entering perfmon /rel as the target.
Utilizing Reliability Monitor
- Investigate Crashes: Each event is recorded with potential causes, aiding in diagnosing app or system crashes.
- Spot Recent Changes: Reviewing the timeline can reveal if recent installations or updates correlate with emerging issues.
Tip: For a broader view, click "View All Problem Reports" to access detailed troubleshooting logs.
Additional Resources
- Consider options for Windows 10 users as support phases out in the coming year.
- Explore upgrading Windows 10 devices to Windows 11, even with hardware incompatibilities.
- Learn ways to make Windows updates less disruptive to your workflow.


 浙公网安备
33010002000092号
浙公网安备
33010002000092号 浙B2-20120091-4