
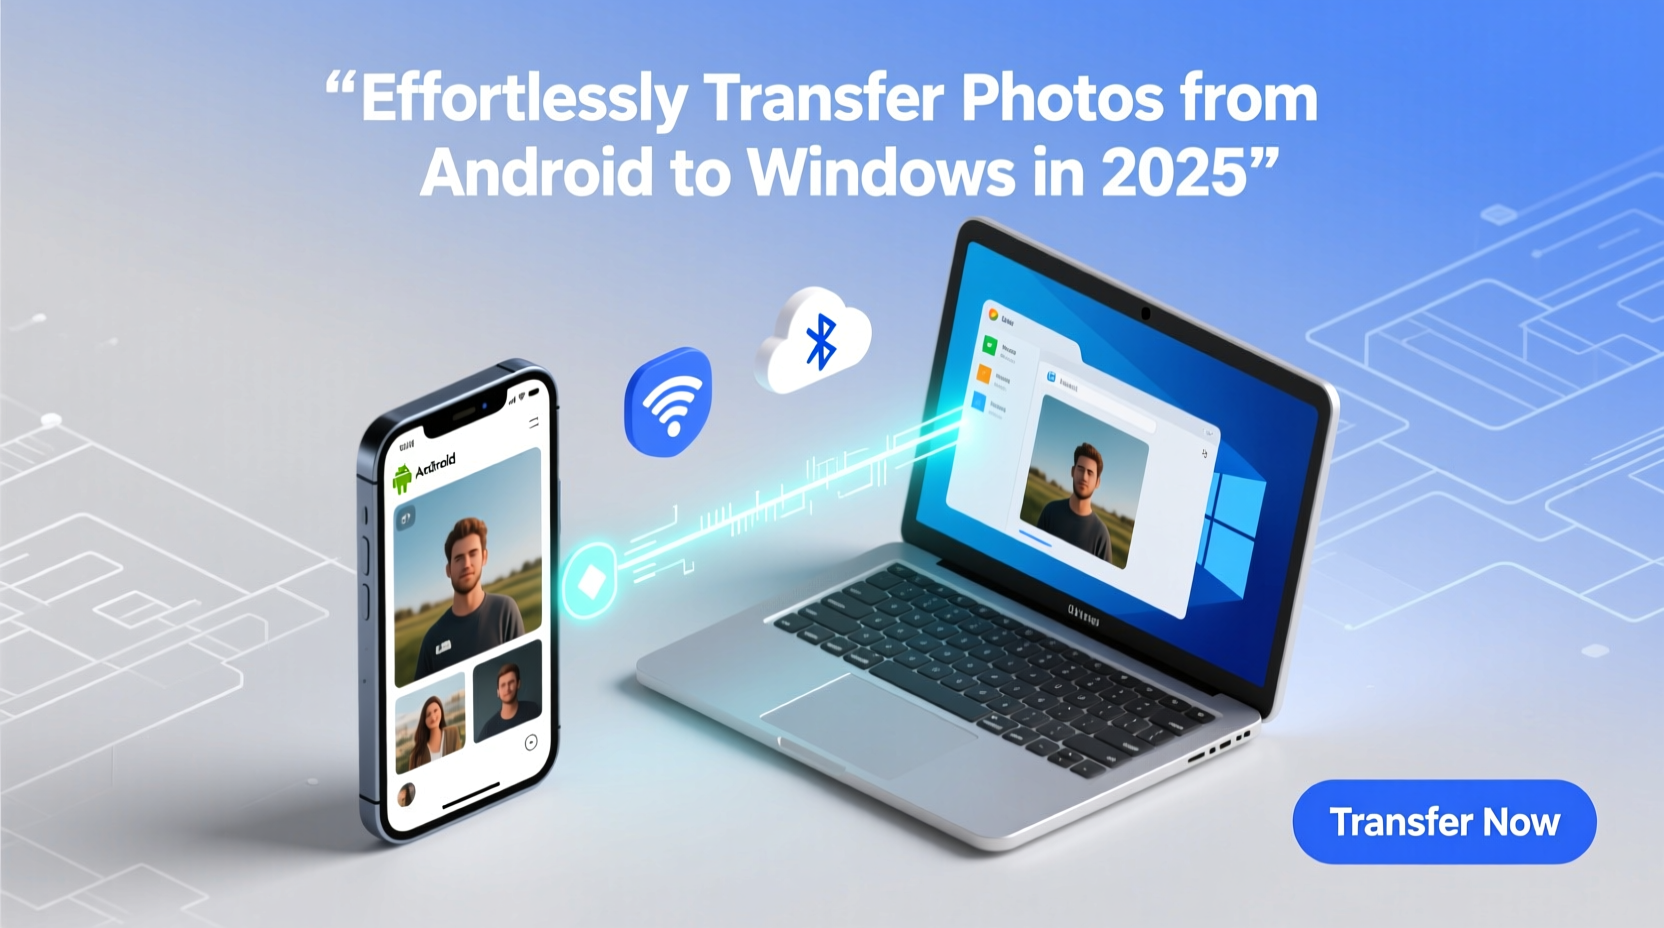
How to Transfer Photos from Android to Windows PC: A Comprehensive Guide
If you've accumulated a large number of photos on your Android device over the years, transitioning them to a bigger screen, such as a Windows PC, can offer a better viewing experience. Whether you're upgrading to a new Samsung Galaxy or simply want to secure your memories, transferring them to your computer is a straightforward process. In this guide, we'll explore various methods to accomplish this, each with step-by-step instructions to help you seamlessly move your photos.
1. Direct USB Cable Connection
The most direct method to transfer your photos is by using a USB cable to connect your phone to your PC. Here’s how:
- Connect your Android phone to your Windows computer using a USB cable.
- On your Android device, swipe down to access notifications and select the USB charging option.
- Switch the USB connection type to "File Transfer" or "MTP."
- Open File Explorer on your PC and locate your device under "This PC."
- Navigate through the Internal Storage, accessing the DCIM folder, followed by the Camera folder.
- You can now copy and paste or drag and drop photos to your desired location on your PC.
2. Using Windows Photos App
Windows Photos App is another simple way to import photos:
- Ensure your Android phone is connected to your computer via USB.
- Launch the Photos app on your Windows PC.
- Click on the "Import" button and select "From a USB device."
- The app will search for new photos on your device. Review and select photos to import.
- Click "Import" after choosing the photos and target folder on your PC.
3. Accessing Google Photos
Google Photos offers a cloud-based solution if your photos are already backed up there:
- Open the Google Photos app on your Android device to ensure photos are backed up.
- Check that "Backup & sync" is turned on under the Photos settings.
- On your PC, navigate to Google Photos and sign in.
- Select the photos you'd like to download. Use Shift key for batch selection.
- Click on the three-dot menu and choose "Download" to save photos as a ZIP file.
4. Utilizing Microsoft OneDrive
For those who utilize Microsoft OneDrive, importing photos can be done through this application:
- Install and open OneDrive on your Android phone.
- Sign in with your Microsoft account and enable "Camera Upload" under the Photos section.
- Once synced, access OneDrive on your PC and locate the uploaded photos in the Pictures folder.
5. Using Microsoft’s Phone Link App
For a limited but effective approach, Microsoft’s Phone Link app can be helpful:
- Establish a connection between your Android device and Windows PC through the Phone Link app.
- Within the Phone Link interface, select the photos option to view your device’s content.
- Right-click any photo you wish to save, selecting "Save As," to download it to your PC.
- Note: This method is more efficient for transferring a few photos rather than large batches.
| Method | Advantages | Disadvantages |
|---|---|---|
| USB Connection | Direct and straightforward | Requires physical connection |
| Windows Photos App | Integrated with Windows | Initial setup required |
| Google Photos | Cloud-based, accessible anywhere | Requires backup and internet |
| OneDrive | Seamless if already using OneDrive | Dependent on cloud storage |
| Phone Link | Easy for on-the-go access | Limited to individual photo transfer |
Conclusion
No matter your method of choice, transferring photos from an Android phone to a Windows PC has never been easier. Whether you prefer USB direct connection, leveraging Windows apps, or cloud solutions such as Google Photos and OneDrive, each option provides unique benefits designed to suit different needs. Choose the method that best aligns with your preferences and technical setup to ensure your memories are preserved and accessible on your preferred device.


 浙公网安备
33010002000092号
浙公网安备
33010002000092号 浙B2-20120091-4