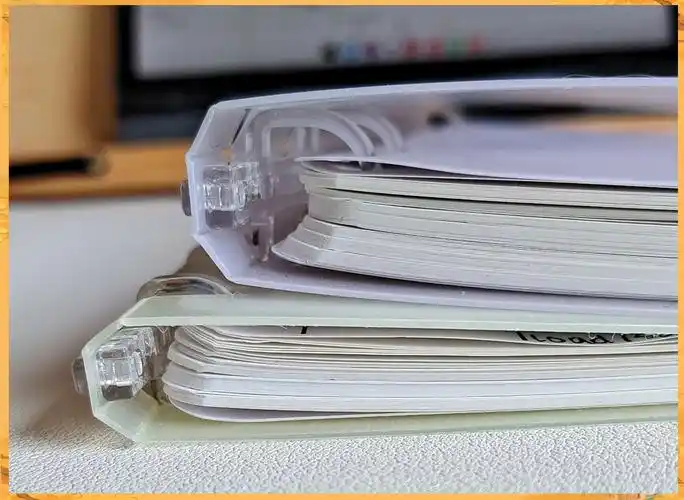
DIY Binder Dividers: How to Create Your Own Custom Organizers
Binder dividers are a fantastic tool for organizing documents, whether for school, work, or personal projects. By creating your own DIY binder dividers, you can personalize them to suit your specific needs and style. This guide will walk you through the process of creating custom binder dividers and provide you with free printable templates to get started.
Why Use Binder Dividers?
- Organization: Dividers help you sort and organize information efficiently, making it easy to find what you need when you need it.
- Customization: You can tailor them to fit your specific requirements, whether for labeling by subject, category, or priority.
- Durability: By using sturdy materials, your custom dividers will last longer and protect your documents better.
Materials You’ll Need
- Cardstock or thick paper
- Hole punch
- Scissors
- Printer
- Label maker or markers
- Plastic sheets (optional for added durability)
Steps to Create Your DIY Binder Dividers
1. Plan Your Layout
Determine how many sections you need and what you will label each section. Consider the size of your binder and the number of tabs that would fit comfortably.
2. Choose or Design Your Template
- Use a Printable Template: There are many free templates available online that you can download and print. Choose one that suits your style and needs.
- Create Your Own Template: If you want something unique, design your template using software like Canva or Microsoft Word.
3. Print and Cut the Dividers
Once you've chosen or designed your template, print it onto your cardstock. Carefully cut out the dividers, making sure they are even and fit well in your binder.
4. Label Your Dividers
Use a label maker or handwrite your labels. Ensure the labels are clear and easy to read. Position them at the top or side of the divider where they are most visible.
5. Optional: Reinforce for Durability
If you plan to use the dividers regularly, consider laminating them or using plastic sheets to reinforce them. This will protect the labels and keep the dividers looking new longer.
Design Ideas for Personalization
- Color Coding: Use different colors for different subjects or categories to make identification quick and easy.
- Decorative Patterns: Add patterns or images that reflect your personality or the content of your binder.
- Quotes and Inspirational Texts: Incorporate quotes or affirmations to keep you motivated every time you open your binder.
Free Printable Templates
Below are some template options you can use to get started. Download, print, and personalize them to fit your needs.
| Template | Description | Download Link |
|---|---|---|
| Basic Divider Template | A simple set of dividers with a classic tab design. | Download |
| Colorful Dividers | Vibrant designs perfect for adding a splash of color to your organization. | Download |
| Customizable Text Dividers | Dividers with placeholders for easy text customization before printing. | Download |
Troubleshooting Common Issues
- Misaligned Prints: Double-check the printer settings to ensure the print is aligned correctly on the cardstock.
- Smudged Ink: Allow ink to dry fully before handling or laminating the dividers.
- Uneven Cuts: Use a ruler and a sharp blade for precise cuts, or consider using a paper cutter.
Conclusion
Creating your own DIY binder dividers can be a fun and rewarding project that enhances your organizational skills. Not only do they help keep your documents sorted, but they also offer a creative outlet to express your style. By following the steps outlined in this guide, you now have the tools and knowledge to design and produce dividers that fit your unique needs. Happy organizing!
Remember, the key to maintaining an organized binder is consistency. Regularly update your dividers and labels as your needs change, ensuring that your system remains efficient and effective. Enjoy the process of crafting a personalized organizational tool that serves you well.


 浙公网安备
33010002000092号
 浙B2-20120091-4